.jpg)
Trezor.io/Start® – Starting Up Your Trezor® Device
When it comes to securing your cryptocurrency, Trezor is one of the most trusted hardware wallets on the market. Setting up your Trezor device for the first time is a straightforward process, ensuring your digital assets remain safe. This blog will guide you through the initial steps to start up your Trezor device using Trezor.io/Start®
Trezor is a hardware wallet designed to provide enhanced security for storing cryptocurrencies like Bitcoin, Ethereum, and other digital assets. It offers protection against hacks, malware, and phishing attempts, making it a preferred choice for both beginners and experienced crypto users. Unlike software wallets, hardware wallets like Trezor keep your private keys offline, minimizing exposure to online threats. Here is a detailed guide to help you start up your Trezor device: When you receive your Trezor hardware wallet, ensure the packaging is intact and hasn’t been tampered with. Inside the box, you should find the Trezor device, a USB cable, a recovery seed card, and a manual. After unboxing your device, visit Trezor.io/Start®
To connect your Trezor device to your computer, you need to install Trezor Bridge, a software that enables communication between the Trezor device and your web browser. Follow the instructions on Trezor.io/Start to download and install it on your computer. Once the Trezor Bridge is installed, plug your Trezor device into your computer using the USB cable provided. Your web browser will automatically detect the device, and you’ll be prompted to continue the setup. Before using the device, it is crucial to update the firmware. This ensures your Trezor has the latest security features. Follow the on-screen instructions to download and install the firmware update. Now that your Trezor device is connected and updated, it’s time to set up your wallet. Choose the “Create new wallet” option. This will generate a new wallet for you, ready to store your cryptocurrencies securely. The most crucial step in setting up your Trezor wallet is backing up your recovery seed. This seed is a series of 12 to 24 random words that act as a backup of your wallet. Write these words down on the recovery card provided in the box and keep them in a secure place. Do not take a picture or store it online, as this would compromise your wallet’s security. Once you have written down your recovery seed, Trezor will prompt you to verify the words to ensure you have them correctly recorded. This verification step is critical as it ensures you’ll be able to recover your wallet if the device is lost or damaged. After setting up your wallet, it’s essential to implement additional security measures. Trezor allows you to set up a PIN to secure access to your wallet. Choose a unique, hard-to-guess PIN to add an extra layer of protection. For advanced security, Trezor offers an option to use a passphrase in addition to the recovery seed. This feature adds another layer of encryption to your wallet, making it even more secure. Once your wallet is set up and secured, you can now start using it to manage your cryptocurrencies. You can send and receive coins, view your transaction history, and check your balances all from within the Trezor interface. The wallet supports over 1,000 different cryptocurrencies, making it a versatile solution for crypto investors. Trezor Suite is the official application for managing your Trezor wallet. It offers a user-friendly interface where you can handle all your transactions. Download the application on your desktop or mobile device for easy access. Setting up your Trezor device through Trezor.io/Start is a simple yet essential process to ensure the safety of your digital assets. By following the steps mentioned above, you can be confident that your cryptocurrencies are securely stored. Don’t forget to keep your recovery seed safe and take advantage of Trezor’s advanced security features like the PIN and passphrase options. With your Trezor wallet fully operational, you can enjoy peace of mind knowing your assets are protected. Trezor.io/Start® - Starting Up Your Trezor® Device When it comes to securing your cryptocurrency, Trezor is one of the most trusted hardware wallets on the market. Setting up your Trezor device for the first time is a straightforward process, ensuring your digital assets remain safe. This blog will guide you through the initial steps to start up your Trezor device using Trezor.io/Start. Trezor is a hardware wallet designed to provide enhanced security for storing cryptocurrencies like Bitcoin, Ethereum, and other digital assets. It offers protection against hacks, malware, and phishing attempts, making it a preferred choice for both beginners and experienced crypto users. Unlike software wallets, hardware wallets like Trezor keep your private keys offline, minimizing exposure to online threats. Here is a detailed guide to help you start up your Trezor device: When you receive your Trezor hardware wallet, ensure the packaging is intact and hasn’t been tampered with. Inside the box, you should find the Trezor device, a USB cable, a recovery seed card, and a manual. After unboxing your device, visit Trezor.io/Start to begin the setup process. This is the official page to initialize your wallet. You’ll be guided step-by-step through the setup to ensure a smooth and secure process. To connect your Trezor device to your computer, you need to install Trezor Bridge, a software that enables communication between the Trezor device and your web browser. Follow the instructions on Trezor.io/Start to download and install it on your computer. Once the Trezor Bridge is installed, plug your Trezor device into your computer using the USB cable provided. Your web browser will automatically detect the device, and you’ll be prompted to continue the setup. Before using the device, it is crucial to update the firmware. This ensures your Trezor has the latest security features. Follow the on-screen instructions to download and install the firmware update. Now that your Trezor device is connected and updated, it’s time to set up your wallet. Choose the “Create new wallet” option. This will generate a new wallet for you, ready to store your cryptocurrencies securely. The most crucial step in setting up your Trezor wallet is backing up your recovery seed. This seed is a series of 12 to 24 random words that act as a backup of your wallet. Write these words down on the recovery card provided in the box and keep them in a secure place. Do not take a picture or store it online, as this would compromise your wallet’s security. Once you have written down your recovery seed, Trezor will prompt you to verify the words to ensure you have them correctly recorded. This verification step is critical as it ensures you’ll be able to recover your wallet if the device is lost or damaged. After setting up your wallet, it’s essential to implement additional security measures. Trezor allows you to set up a PIN to secure access to your wallet. Choose a unique, hard-to-guess PIN to add an extra layer of protection. For advanced security, Trezor offers an option to use a passphrase in addition to the recovery seed. This feature adds another layer of encryption to your wallet, making it even more secure. Once your wallet is set up and secured, you can now start using it to manage your cryptocurrencies. You can send and receive coins, view your transaction history, and check your balances all from within the Trezor interface. The wallet supports over 1,000 different cryptocurrencies, making it a versatile solution for crypto investors. Trezor Suite is the official application for managing your Trezor wallet. It offers a user-friendly interface where you can handle all your transactions. Download the application on your desktop or mobile device for easy access. Setting up your Trezor device through Trezor.io/Start is a simple yet essential process to ensure the safety of your digital assets. By following the steps mentioned above, you can be confident that your cryptocurrencies are securely stored. Don’t forget to keep your recovery seed safe and take advantage of Trezor’s advanced security features like the PIN and passphrase options. With your Trezor wallet fully operational, you can enjoy peace of mind knowing your assets are protected. Trezor.io/Start® - Starting Up Your Trezor® Device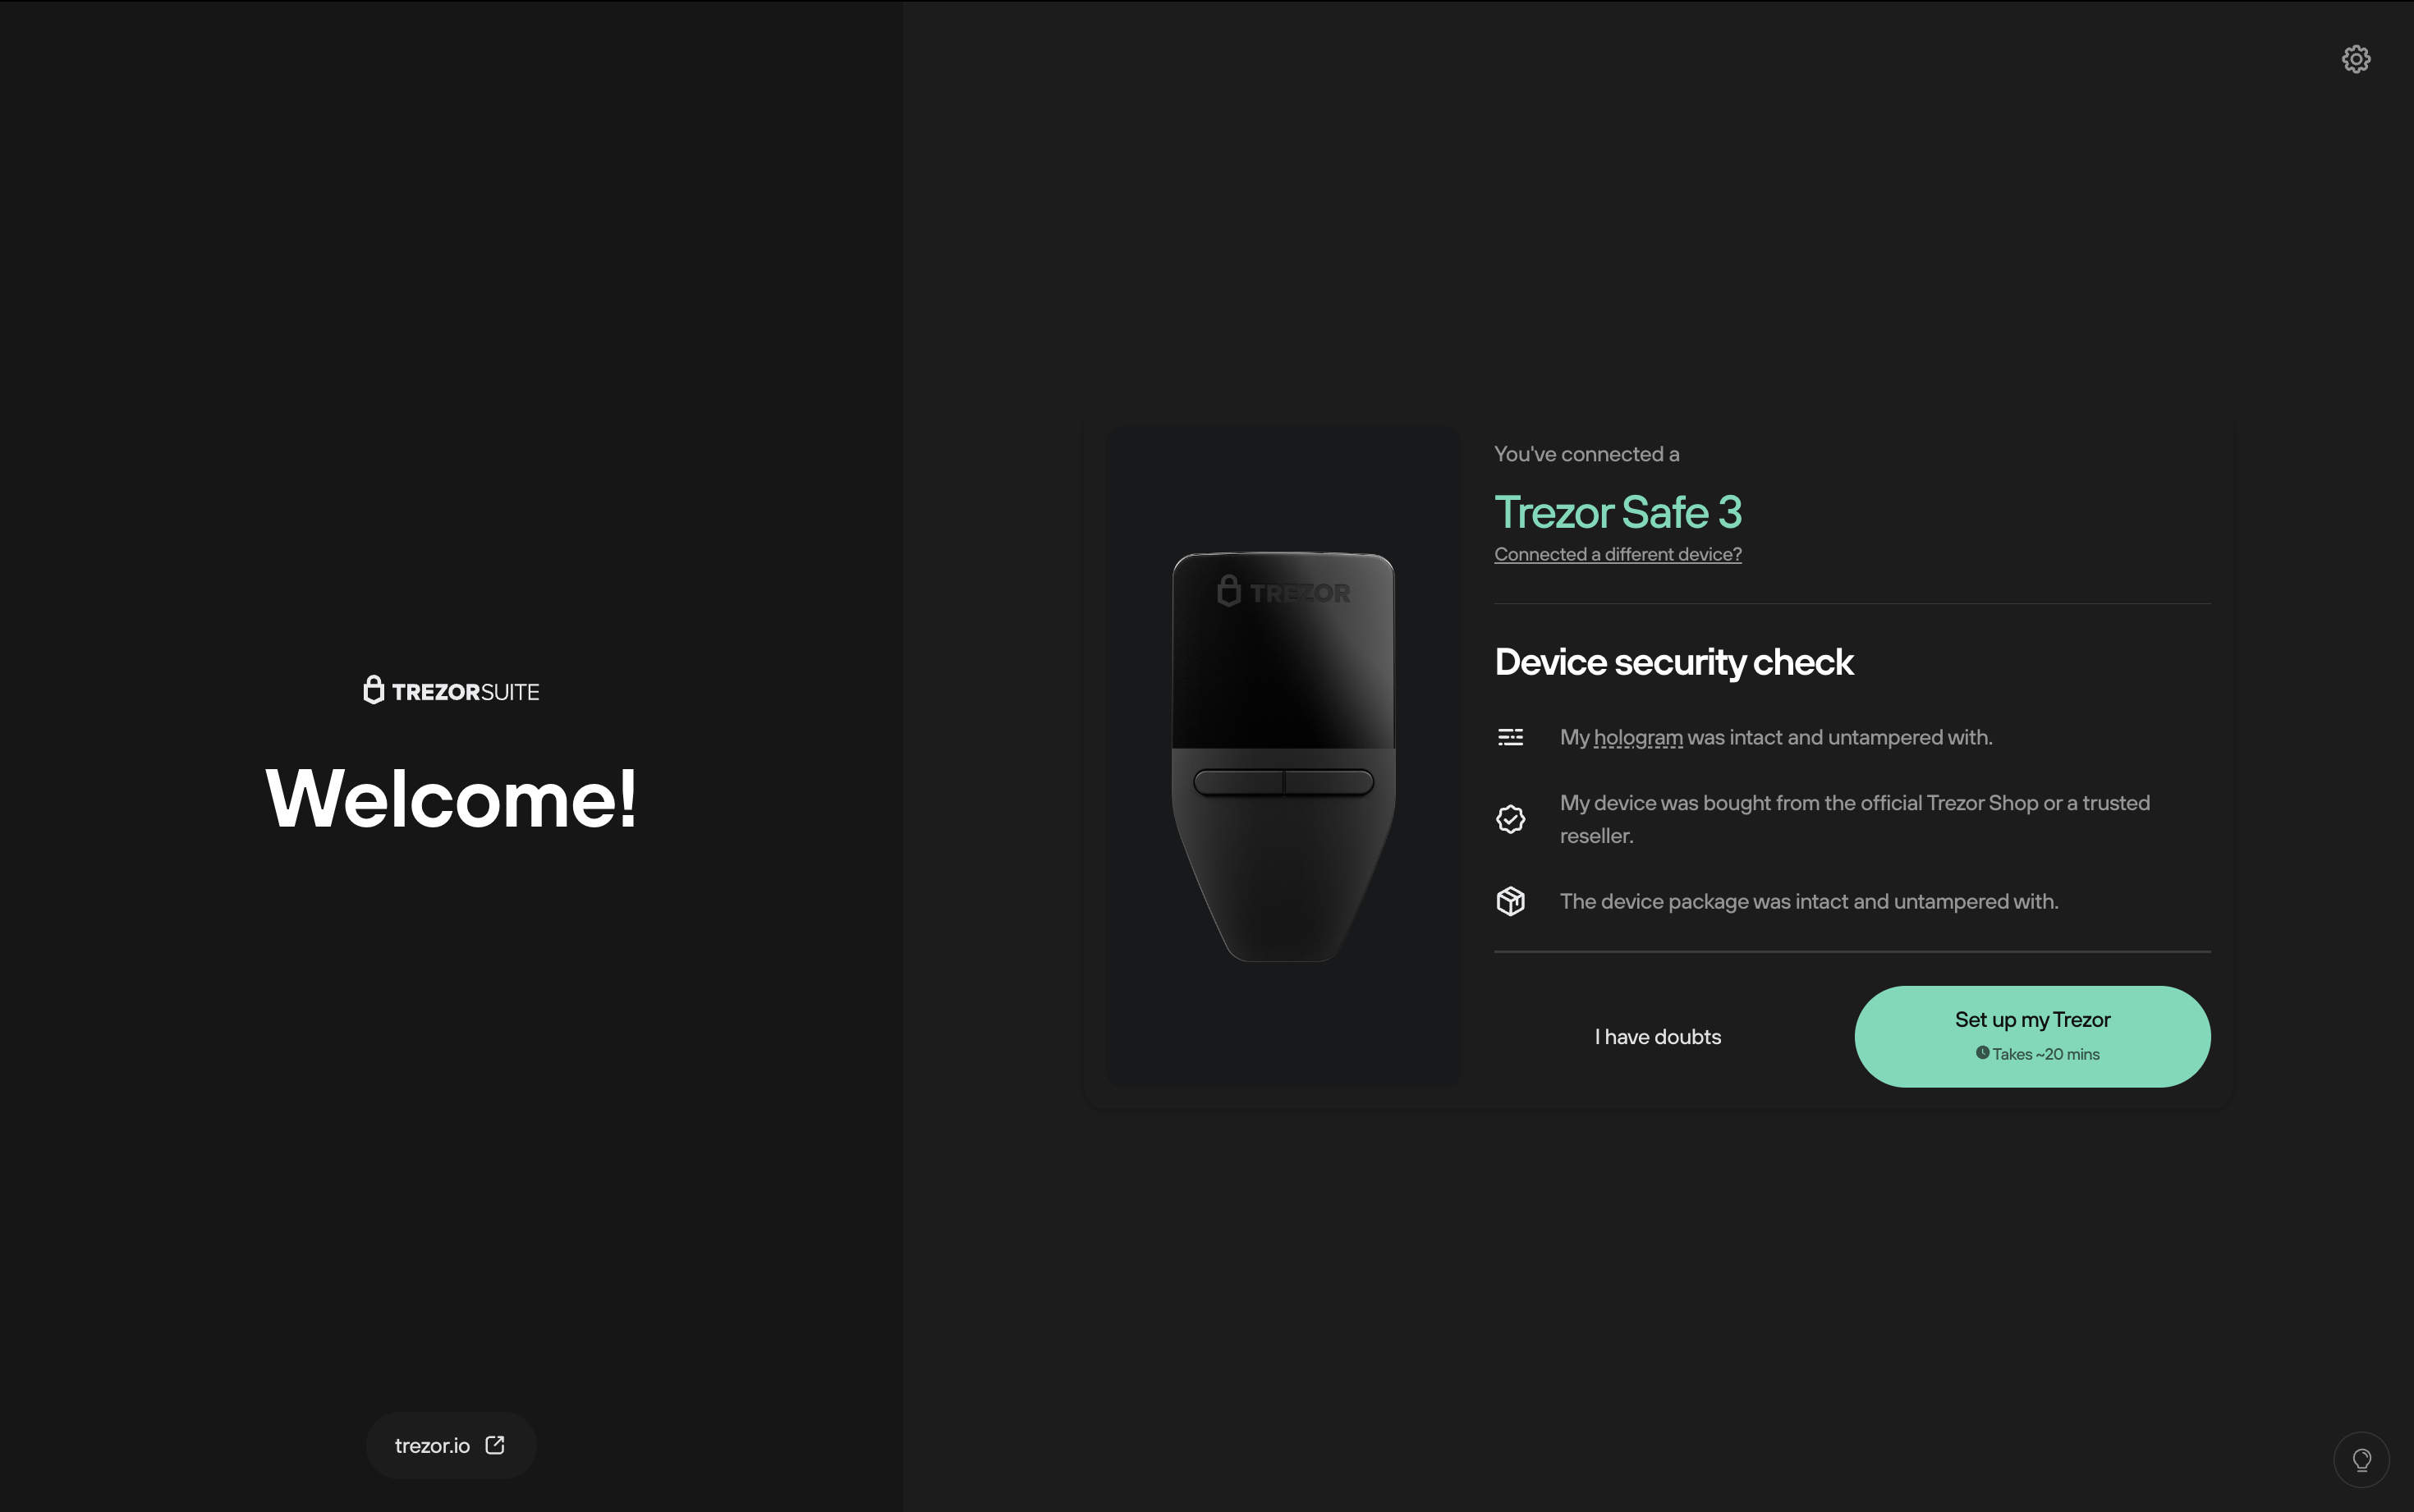
What is Trezor and Why Use It?
Steps to Start Up Your Trezor Device
Step 1: Unboxing Your Trezor
Step 2: Go to Trezor.io/Start
Step 3: Install the Trezor Bridge
Step 4: Connect Your Trezor
Step 5: Update Firmware
Setting Up Your Trezor Wallet
Step 1: Create a New Wallet
H3: Step 2: Backup Your Recovery Seed
Step 3: Verify the Recovery Seed
Securing Your Trezor Wallet
Step 1: Set Up a PIN
Step 2: Enable Passphrase
Accessing Your Trezor Wallet
Using Trezor Suite
Final Thoughts
Trezor.io/Start® – Starting Up Your Trezor® Device
What is Trezor and Why Use It?
Steps to Start Up Your Trezor Device
Step 1: Unboxing Your Trezor
Step 2: Go to Trezor.io/Start
Step 3: Install the Trezor Bridge
Step 4: Connect Your Trezor
Step 5: Update Firmware
Setting Up Your Trezor Wallet
Step 1: Create a New Wallet
H3: Step 2: Backup Your Recovery Seed
Step 3: Verify the Recovery Seed
Securing Your Trezor Wallet
Step 1: Set Up a PIN
Step 2: Enable Passphrase
Accessing Your Trezor Wallet
Using Trezor Suite
Final Thoughts